
What Does a Home Electrical Inspection Include — and Why It Matters for Your Home's Safety
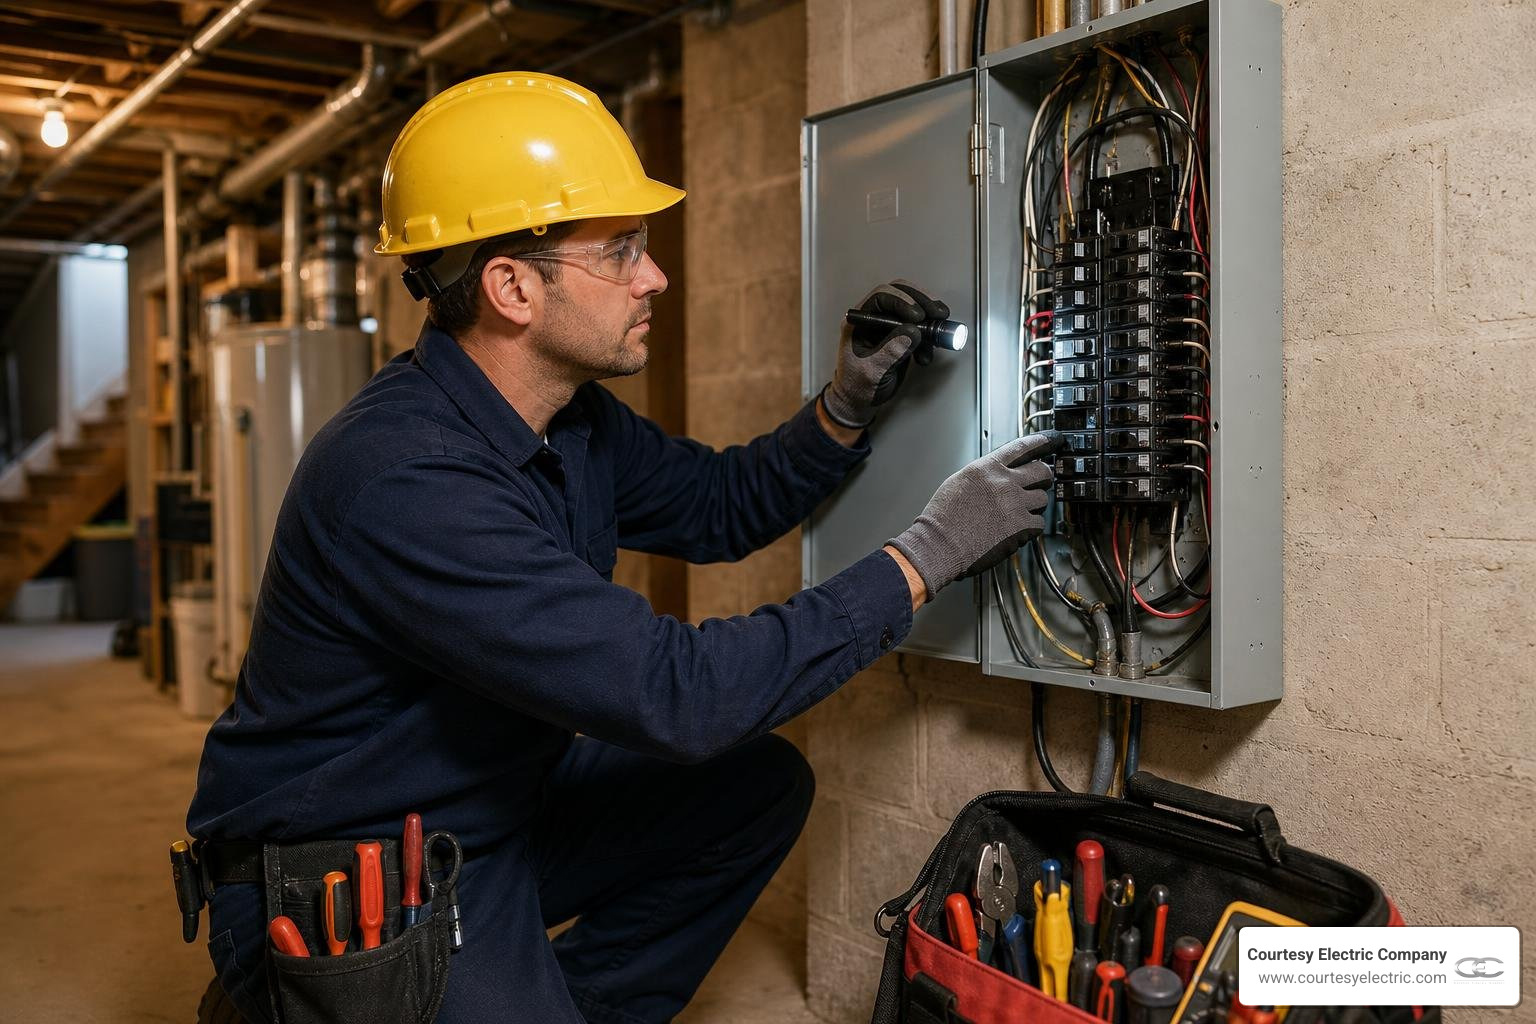
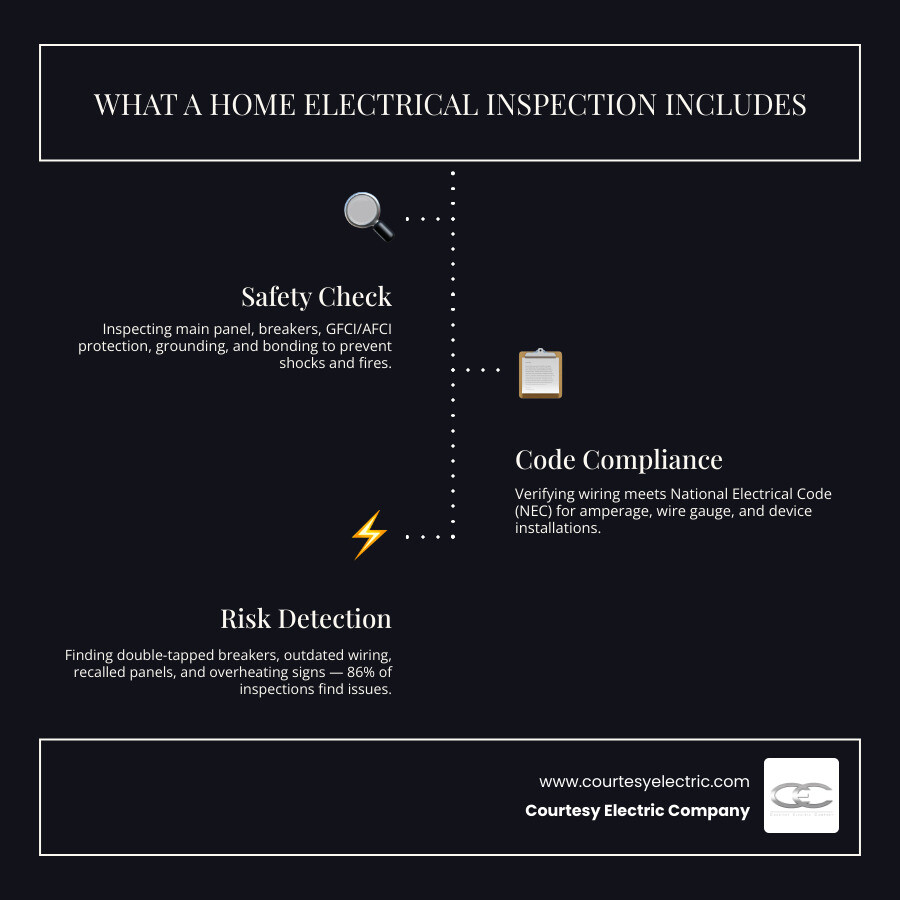
What does a home electrical inspection include is one of the most important questions a homeowner can ask — and the answer goes far beyond a quick glance at a breaker panel. Here is a fast overview of what a standard inspection covers:
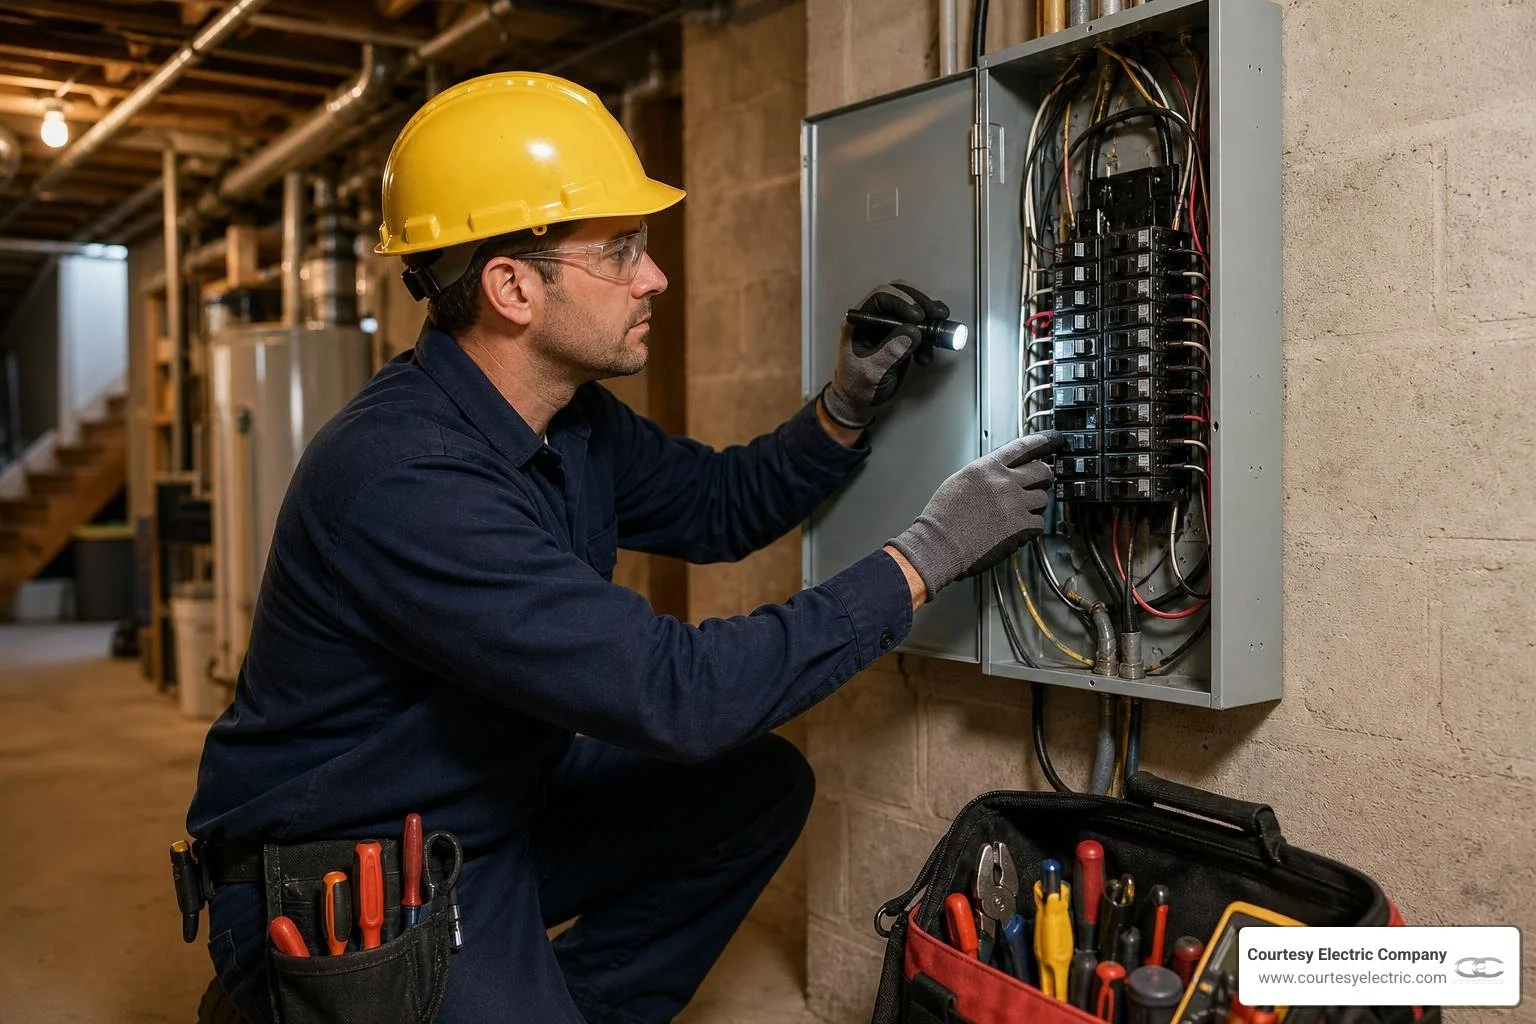
- Main electrical panel and service disconnect — amperage rating, working clearances, breaker condition, bonding, and grounding
- Service entrance conductors — the cables bringing power into your home from the utility
- Branch circuit wiring — wire gauge, cable anchoring, and proper routing through walls and studs
- Outlets and switches — mounting heights, polarity, grounding, and box sizing
- GFCI protection — required in kitchens, bathrooms, garages, laundry rooms, and exterior areas
- AFCI protection — required on new or remodeled circuits in bedrooms and living areas
- Grounding and bonding systems — grounding electrodes, metal pipe bonding, and continuous grounding paths
- Signs of overheating or fire risk — double-tapped breakers, incorrect wire sizes, recalled panels, and outdated wiring types
- Smoke and carbon monoxide alarm presence — inspectors note whether they exist, though testing is not always required
A home electrical inspection is a detailed, system-wide safety assessment. According to industry data, 86% of home inspections uncover at least one issue, and electrical defects rank as the second most common finding — appearing in nearly 1 in 5 inspections. For homeowners in older properties, the stakes are even higher: 68% of homes built before 1980 have at least one code deficiency, and homes purchased without an electrical inspection are more than twice as likely to experience an electrical-related insurance claim within the first two years of ownership.
Whether you are buying a home, planning a renovation, or simply want peace of mind about your family's safety, understanding what inspectors look for puts you in control of the process — not at the mercy of it.
I'm David Meyer, Vice President of Courtesy Electric, a Colorado electrical contracting company with roots going back to 1976, and I've spent my career working in the field alongside the inspectors, code books, and real-world electrical systems that define what a home electrical inspection includes. In the sections below, I'll walk you through every stage of the process — from rough-in to final sign-off — so you know exactly what to expect and how to be ready.
Understanding the Basics: What Does a Home Electrical Inspection Include?
At its core, a home electrical inspection is a comprehensive evaluation of your entire electrical system to verify that it is safe, functional, and compliant with local and national safety standards. Rather than just making sure the lights turn on, this process focuses heavily on preventative maintenance and electrical safety. It is designed to identify hidden hazards—such as overloaded circuits, deteriorating insulation, or improper DIY modifications—before they escalate into shocks, power failures, or electrical fires.
As a professional team serving the Denver area, we always emphasize that these inspections are rooted in the National Electrical Code (NEC). The NEC is updated regularly to reflect modern safety advancements and changing household power demands. While existing electrical installations do not always require retroactive updates, any new work, remodeling, or system modifications must strictly adhere to the latest code standards.
Understanding the health of your system requires regular check-ups. To keep your home safe, it is helpful to know how often should you have your electrical system inspected and to learn how to spot electrical problems before they become dangerous. By staying proactive, you can address minor issues—such as flickering lights, warm switch plates, or buzzing sounds—before they become major safety concerns.
What Does a Home Electrical Inspection Include During a Real Estate Transaction?
When buying or selling a home in the Colorado Front Range, an electrical inspection plays a pivotal role in the transaction. However, there is a major difference between a general home inspection and a specialized electrical inspection.
A general home inspector evaluates the entire property and checks the electrical system broadly. They will typically test a representative number of outlets (usually one per room), check for the presence of GFCI protection, and look inside the service panel if it is safe to do so. However, general home inspectors are restricted by their standards of practice; they do not perform advanced diagnostic testing, measure voltage or amperage, or diagnose the root causes of complex electrical defects.
If a general inspector flags an issue, or if you are dealing with a property disclosure that mentions electrical modifications, you need a licensed electrical contractor to perform a deep-dive evaluation. We inspect every circuit, evaluate the panel’s true capacity, and check for hidden safety hazards. For home sellers, addressing these electrical defects before listing the property prevents transaction delays. For home buyers, a specialized inspection report serves as a powerful negotiating tool to ensure you do not inherit costly, hazardous wiring problems.
What Does a Home Electrical Inspection Include for Older Properties?
Older homes across Denver, Parker, and Highlands Ranch possess incredible architectural charm, but their legacy electrical systems were never designed to handle today’s power demands. In the 1950s, a standard home might have had a 60-amp service. Today, with electric vehicles, central air conditioning, smart appliances, and home offices, modern homes routinely require 100-amp or 200-amp service.
When evaluating pre-1980s homes, inspectors pay close attention to legacy wiring methods and signs of degradation. Common issues include:
- Knob-and-Tube Wiring: Found in homes built before the 1940s, this system uses single conductors run through ceramic knobs and tubes. It lacks a grounding conductor, and its rubberized cloth insulation becomes extremely brittle over time.
- Single-Strand Aluminum Wiring: Common in homes built between the late 1960s and mid-1970s, aluminum branch circuit wiring poses a significant fire hazard. Aluminum expands and contracts at a different rate than copper, which eventually loosens connections at outlets and switches, leading to overheating.
- Unprotected Romex or Frayed Insulation: Rodents, heat, and age can degrade wire sheathing in attics and crawlspaces, exposing live conductors.
If you own or are looking to purchase an older property, we highly recommend reviewing this electrical safety checklist for older homes and recognizing the clear signs your home is due for an electrical inspection to protect your investment.
The Two Stages of Electrical Inspections: Rough-In vs. Final
For new construction, home additions, or major remodeling projects in Colorado, the electrical inspection process is split into two distinct, legally required phases. These municipal code compliance reviews ensure that the electrical work is safe at every step of the construction process.
| Inspection Phase | When It Occurs | Key Inspector Focus Areas |
|---|---|---|
| Rough-In Inspection | After boxes and cables are run, but before insulation, drywall, or plaster is installed. | Wire routing, cable anchoring, box depth, stud protection, and wire length. |
| Final Inspection | After walls are closed, painted, and all light fixtures, switches, outlets, and appliances are installed. | Device functionality, correct polarity, GFCI/AFCI operation, and panel labeling. |
The Rough-In Inspection Phase
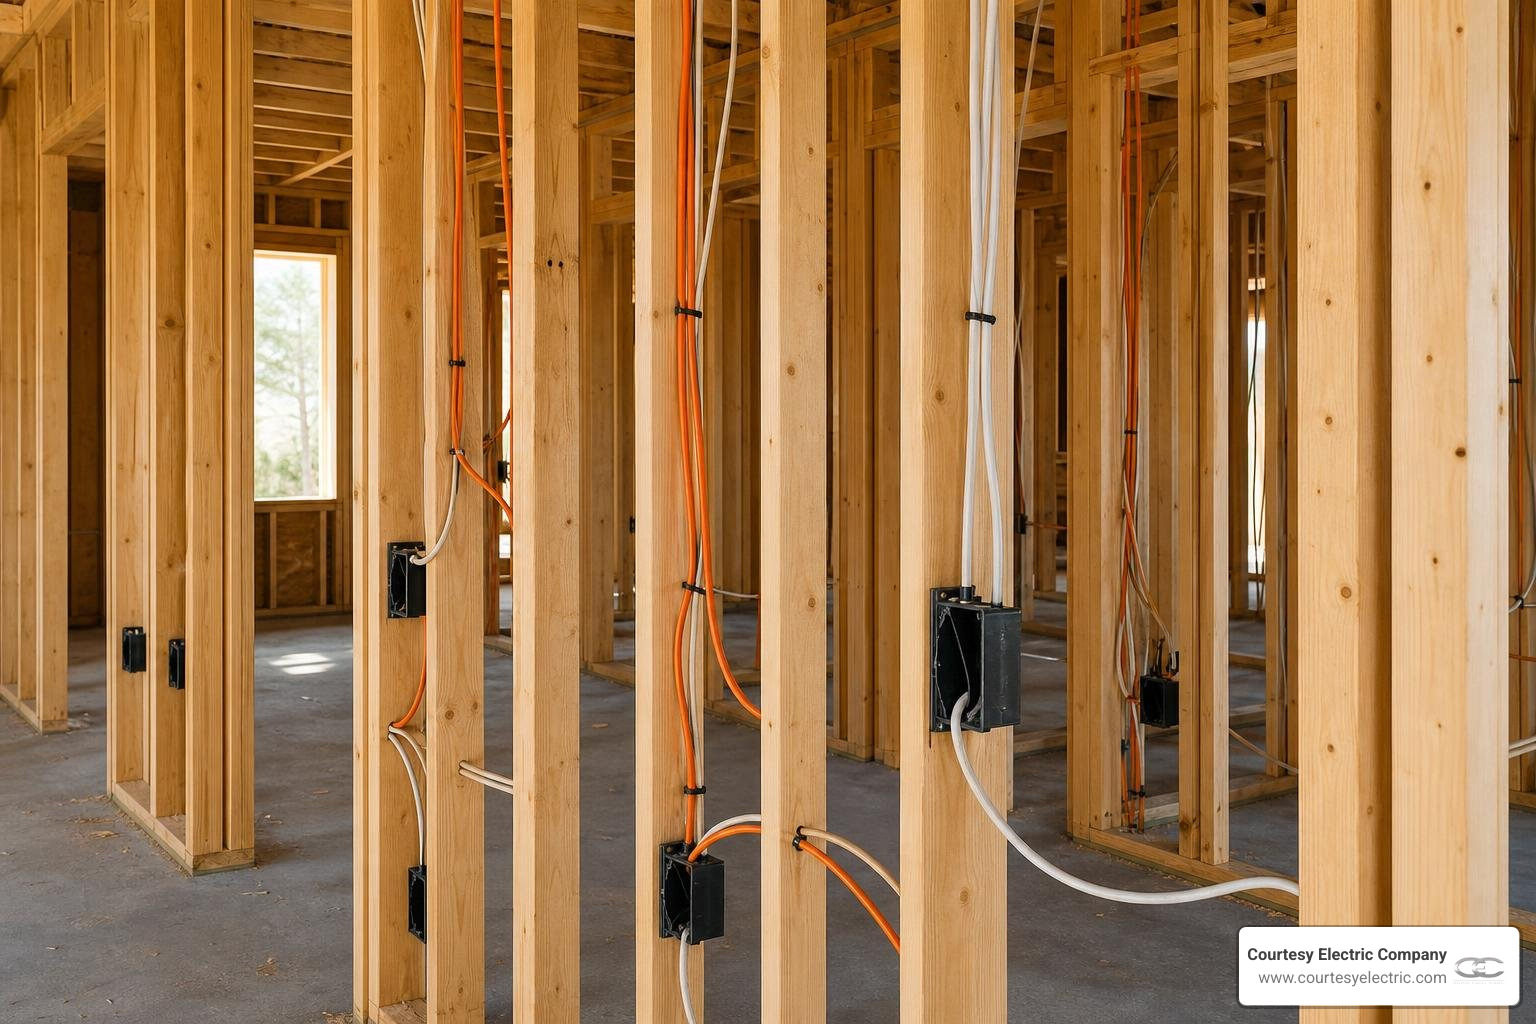
The rough-in inspection is the most technical phase because the walls are completely open, giving the inspector an unobstructed view of the entire infrastructure. During this walk-through, the inspector verifies that the physical installation of the cables and boxes complies with the NEC. Key checkpoints include:
- Cable Anchoring and Wire Staples: Cables must be secured to wall studs using approved staples. The first staple must be placed no further than 8 inches from the electrical box, and subsequent staples must be placed at least every 4 feet.
- Stud Penetration and Protective Metal Plates: When horizontal wire runs pass through holes bored in wood studs, the edge of the hole must be at least 1.25 inches from the edge of the stud. If the hole is closer, protective metal plates must be installed on the face of the stud to prevent drywall screws or nails from puncturing the wire.
- Wire Sheathing and Box Entry: Cable sheathing must extend at least 1/4 inch into the electrical box to ensure the built-in clamps grip the protective outer jacket rather than the individual insulated conductors.
- Usable Wire Length: There must be at least 8 inches of usable wire length extending from the face of the box. This ensures there is plenty of conductor length to make secure connections to outlets or switches, with room for future repairs.
The Final Inspection Phase
The final inspection occurs at the very end of the project, right before the space is put into daily use. The walls are closed, painted, and all finishes are complete. The inspector's job during this phase is to confirm that the completed system is fully functional and safe for the occupants.
The inspector will systematically test the outlets to ensure proper polarity and grounding. They will verify that all light fixtures are securely mounted and operational, and that dedicated appliance circuits are running correctly. The inspector will also test safety devices like GFCIs and AFCIs to confirm they trip instantly under fault conditions. Finally, they will verify that the main service panel has been completely finished, with all breaker spaces clearly and accurately labeled.
Key Components Evaluated: From the Panelboard to the Outlets
A comprehensive electrical inspection covers your entire system, tracing the path of electricity from the utility lines outside your home all the way to the individual outlets in your living room. To help you understand this pathway, we recommend looking over these electrical safety tips every homeowner should know.
Main Electrical Panelboard and Service Disconnect
The main electrical panelboard is the heart of your home's electrical system. It distributes power to individual branch circuits and houses the safety breakers that protect your home from overloads. Because of its critical role, inspectors evaluate it with extreme care.
- Working Space and Clearances: The panelboard must be easily accessible in an emergency. Code requires a clear working space in front of the panel that is at least 36 inches deep, 30 inches wide, and 6.5 feet high. The panel cannot be located in prohibited areas, such as bathrooms, clothes closets, or directly over stairway steps.
- The Six Disconnect Rule: For safety, a person must be able to shut off all electrical power to the home with no more than six motions of the hand while standing at one location.
- Main Bonding Jumper: This is the single most important safety connection in your system. It bonds the neutral bus bar directly to the metal panel enclosure, creating a low-impedance path that ensures a breaker will trip instantly if a hot wire accidentally touches a grounded metal component.
- Subpanel Separation: In any downstream subpanel, the neutral and ground wires must be kept completely isolated from each other. They are only bonded together at the main service panel. If they are joined in a subpanel, neutral currents can travel over the safety grounding system, creating a severe shock hazard.
Outlets, Switches, and Box Sizing
Moving from the panel to the individual rooms, inspectors check the devices that you interact with daily:
- Mounting Heights: Standard electrical outlets must be mounted at least 15 inches above the finished floor, and wall switches must be at least 48 inches above the floor, unless local accessibility guidelines require adjustments.
- Wire Gauge Compliance: The size of the wire must match the rating of the breaker. Standard 15-amp circuits require 14-gauge copper wire, while 20-amp circuits require heavier 12-gauge copper wire. Using 14-gauge wire on a 20-amp breaker is a serious code violation and fire hazard.
- Box Capacity and Sizing: Electrical boxes must have enough physical volume to safely house all the wires, wire nuts, and devices installed inside them. Overcrowded boxes lead to pinched wires and short circuits.
- Device Polarity: Outlets must be wired with correct polarity—meaning the hot wire connects to the brass terminal, the neutral to the silver terminal, and the ground to the green screw. Incorrect polarity can cause appliances to remain energized even when turned off.
Common Defects and Red Flags
During an inspection, certain findings are immediate red flags that require urgent remediation. To learn more about protecting your home from these hazards, check out these electrical fire prevention tips for homeowners.
- Double-Tapped Breakers: This occurs when two separate circuit wires are connected under a single screw terminal on a breaker that is only designed for one wire. This loose connection can arc, overheat, and cause a fire.
- Incorrect Wire Sizes: Finding thin wire connected to a high-amperage breaker is a common DIY mistake that must be corrected immediately.
- Recalled or Hazardous Panels: Brands like Federal Pacific Electric (FPE), Zinsco, and Challenger are notorious for breaker failures. These breakers frequently fail to trip during an overload, allowing the system to overheat and catch fire.
- Single-Strand Aluminum Branch Wiring: As mentioned, solid aluminum wire on 15-amp and 20-amp circuits is highly unstable and requires specialized copalum crimping or complete rewiring.
Safety Devices and Code Compliance: GFCI, AFCI, and Grounding
Modern electrical codes focus heavily on active safety technologies designed to prevent electrical shocks and home fires. During an inspection, verifying these safety systems is a top priority.
Ground Fault Circuit Interrupters (GFCI)
GFCI protection is designed to prevent severe electrical shock. A GFCI outlet constantly monitors the balance of electrical current passing through the hot and neutral wires. If it detects a tiny imbalance—as small as 4 to 6 milliamperes, which indicates that current is leaking or passing through a person to the ground—the GFCI cuts off the power in milliseconds.
GFCI protection is strictly required for all 15- and 20-amp receptacles located near water sources or wet environments. This includes kitchen countertops, bathrooms, laundry rooms, unfinished basements, crawlspaces, garages, and all exterior receptacles.
Arc Fault Circuit Interrupters (AFCI)
While GFCIs protect people from shocks, AFCIs are designed to protect homes from fires. An AFCI breaker detects dangerous electrical arcing—which occurs when electricity jumps across a damaged or loose connection, creating intense heat that can ignite nearby wood or insulation.
The NEC requires AFCI protection on all new or remodeled residential branch circuits supplying outlets in family rooms, dining rooms, living rooms, parlors, libraries, dens, bedrooms, sunrooms, recreation rooms, closets, hallways, and laundry areas.
Grounding and Bonding Systems
Grounding and bonding are the silent safety nets of your home's electrical system.
- Grounding connects the entire electrical system to the earth using grounding electrodes (typically two copper rods driven at least 8 feet into the ground, spaced at least 6 feet apart). This channels stray electrical surges, such as lightning strikes, safely into the ground.
- Bonding physically connects all non-current-carrying metal parts of your home's infrastructure—such as metal water pipes, gas lines, and structural steel—to the grounding system. This ensures that if a hot wire accidentally touches a metal pipe, the system will immediately short-circuit and trip the breaker, rather than leaving the metal pipe energized and dangerous to touch. Inspectors will also check for a bonding jumper wire that jumps across your water meter to maintain a continuous grounding path.
How Homeowners Should Prepare for an Electrical Inspection
Whether you are preparing for a municipal code inspection on a remodel or having our team perform a preventative safety check, taking a few simple steps ahead of time will ensure the process goes smoothly and efficiently.
Ensuring Physical Access and Safety
Inspectors need clear, unobstructed access to all major electrical components. You can prepare by:
- Clearing the Panelboard: Move all stored boxes, tools, or furniture at least 3 feet away from your main electrical panel and any subpanels.
- Clearing Outlets and Switches: Move heavy furniture, beds, or bookshelves away from walls so the inspector can easily access and test the receptacles in each room.
- Replacing Bulbs: Replace any burned-out light bulbs before the inspection. If a light doesn't turn on, the inspector cannot easily tell if the bulb is dead or if there is a wiring failure.
- Labeling the Panel: Ensure all circuit breakers are clearly and accurately labeled. Unlabeled panels slow down the inspection and are an automatic code violation on new work.
Documentation and Communication
Having the right information ready for the inspector goes a long way in building trust and ensuring a successful review:
- Gather Permits and Records: If you've had recent electrical work done, have the permit records, construction plans, and previous inspection reports easily accessible.
- List Known Issues: Prepare a written list of any known electrical quirks in the home—such as a switch that feels warm, a breaker that trips occasionally, or a light that flickers when the microwave runs.
- The Professional Advantage: Building inspectors appreciate working with trusted, licensed professionals. When they see clean, organized work completed by an experienced local team, the inspection often proceeds much faster.
Frequently Asked Questions about Electrical Inspections
How long does a typical home electrical inspection take?
A standard whole-house electrical safety inspection typically takes between 1 to 3 hours. The exact duration depends on the size of your home, the complexity of your electrical system, and whether there are older wiring methods present. A modern, 2,000-square-foot home with a single panel might take about 90 minutes, whereas an older historic home with multiple subpanels and legacy wiring can take several hours to evaluate thoroughly.
What happens if the inspection reveals problems or fails?
If an inspection reveals code violations or safety hazards, the inspector will issue a detailed correction notice. If it is a municipal inspection for a permit, the work cannot be covered with drywall, and a certificate of occupancy will not be issued until the problems are corrected. You will need to have a licensed electrician address the flagged issues, after which you will schedule a re-inspection for final approval.
What should I expect in the final inspection report?
Following a professional safety inspection, you will receive a comprehensive written report detailing the condition of your home’s electrical system. The report will identify any active code violations, safety hazards, or aging components nearing the end of their lifespan. At Courtesy Electric, we prioritize these findings, helping you understand which issues require immediate safety remediation and which are recommended upgrades for the future.
Conclusion
Understanding what a home electrical inspection includes is the first step toward securing your home's safety and ensuring your electrical system is prepared for the future. From validating the main bonding jumper in your panel to testing the GFCI protection in your kitchen, every checkpoint in an inspection plays a vital role in protecting your family and property.
At Courtesy Electric Company, we have been serving homeowners, builders, and businesses across Denver and the Colorado Front Range since 1976. We specialize in complete residential electrical services, from modern infrastructure design to advanced home energy management. If your inspection reveals that your system needs an upgrade, we can help you transition to the future of home energy with SPAN smart electrical panels, Franklin battery storage systems, and premium Generac or Cummins standby generators.
Don't leave your home's safety to chance. Contact our team today for a professional evaluation, and let us help you build a reliable, modern, and completely code-compliant electrical system.


